
Moparts Tech Archive
Tech Misc. Info
insight on how to polish
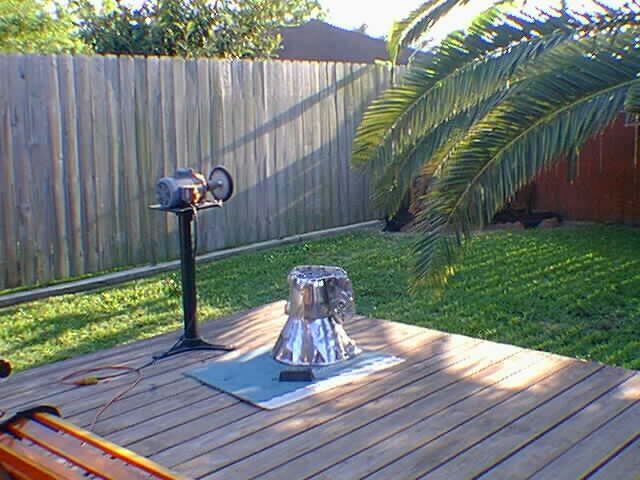
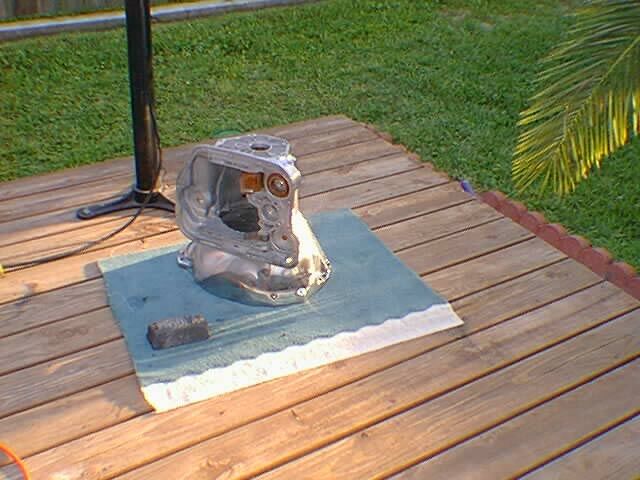
I have been asked by some to give some insight on how to polish. But have not completeted much in the way of new polishing. I do have quite a few things in the works at this time But did find these pictures so wanted to post them! They are not as detailed as the ones I was going to post when I get back to polishing {been sick this whole week} But thought you guys might want to see them!First off I don’t really have a shop or anywhere to do it unlike some seem to think I have LOL! As can be seen in the pictures! Workbench is my hot tub in the rear yard with ľ” plywood and carpet! With the buffer bolted to the deck!
Step 1
Cut off all parts did not like /need {ie} ears brackets ECT.... With hack saw {real high tech LOL}
Step 2
Use small and large metal file to cut down all "major casting flash"
Step 3
Sand with D/A using #80 to remove all scratches from file and saw!
Step 4
Sand with D/A using #180 till all scratches from #80 are completely gone!
At this Point you are going to leave it at the 180 Stage! This is due to the fact that we are now going to change tools! And use a die grinder like a head porter does! Reason being is during the use of the die grinder can and will carry over to the areas already sanded and damage the 180 surface. So any use of finer paper at this point and time would be wasted!
Step 5
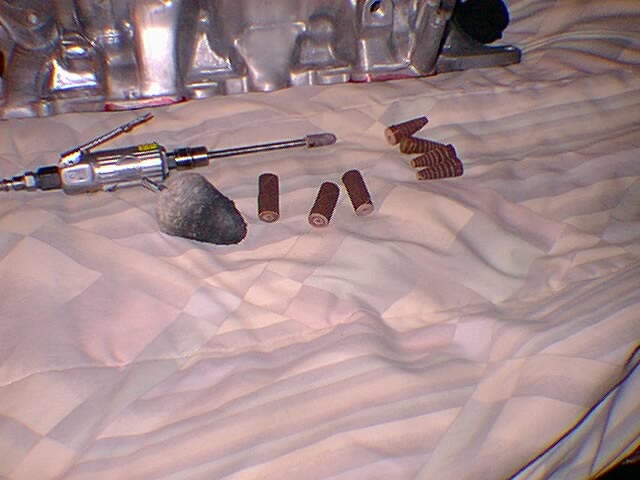
Working with the die grinder using sandpaper rolls! Sand all depressions and hard to get to areas the large D/A sander could not reach using the same method #80-#180 then moving along to #360on to 360
Sand all the depressions with #360
{Option / extra step}
Sand with 360 rolls but hit the 360 on a candle {wax} this will aid in less buffing in the hard to reach later
Step 6
Now we are back to Sanding with D/A using #360 to remove all scratches from Die Grinder mistakes and well as removing all #180 D/A scratches
Step7
Sand with #600 wet* to remove all scratches from #360 completely gone.
Step 8
Sand with #1000 wet* to remove all scratches from #600 completely gone {
*Note they do make D/A sandpaper in these finer grits but require a special Velcro Pad so I use Regular wet-dry 3-M paper wet. If used dry the paper will become clogged not last
Buffing
Step 1
Buff well with Black Emery till all of the scratches are gone from the 1000 grit
Step 2
Buff well with Gray Emery till all of the scratches are gone from the black emery
Step 3
Buff with White rouge till it has Depth {color}
Step 4
Complete Buffing with Cone buffs in all tight areas. Prior to buffing of large areas buffed with wheels.
Step 5
Clean with Wenol, Mothers or other comparable product to remove buffing Residue {Brasso can be used if “HEAVY” residue is present prior to using other products}
(Special notes)
1) always wear proper eye protection and proper breathing protection{ie}Good respirator
2) When sanding do not move to the next finer paper prematurely make sure all sanding mark are removed prior.
3) When buffing use a different buffing wheel or cone buff for each compound.
4) One of the best ways to keep it clean in between cleanings is to coat with Rain-X
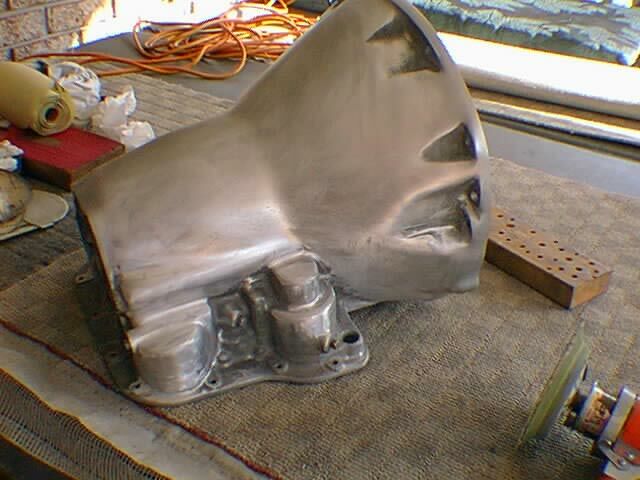
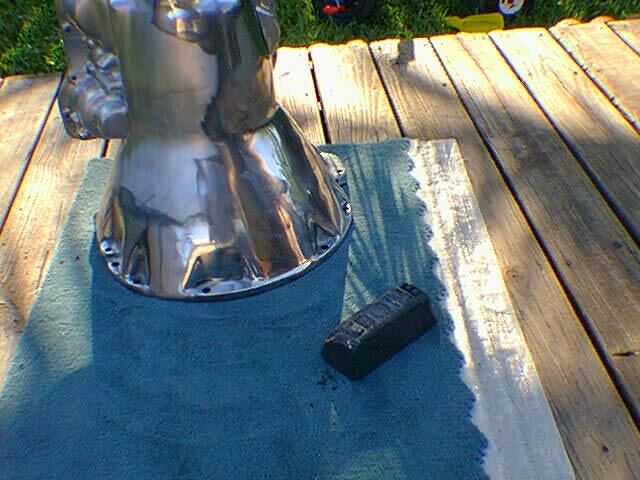
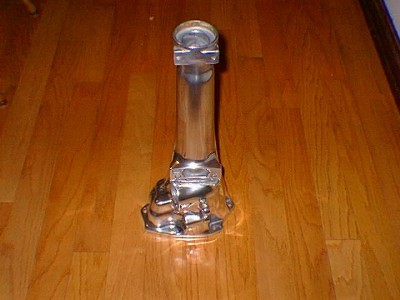
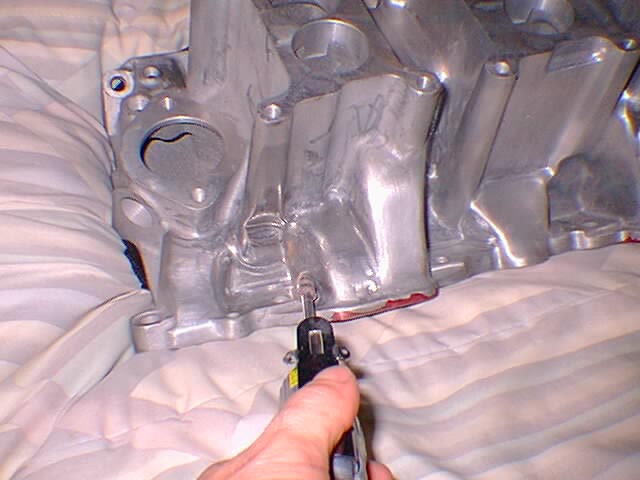
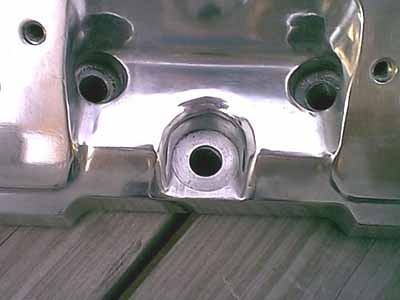
After sanding with D/A before sanding with Die grinder
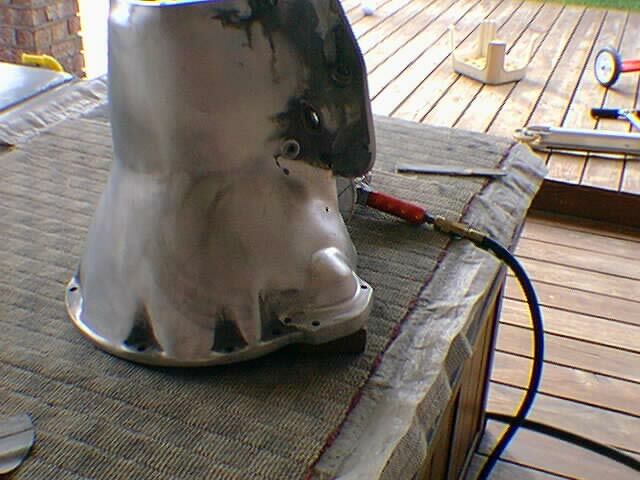
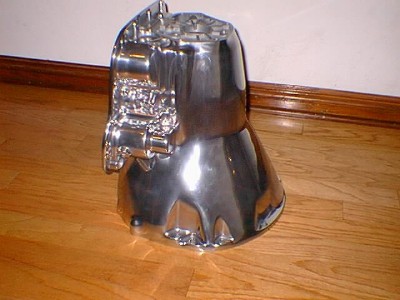
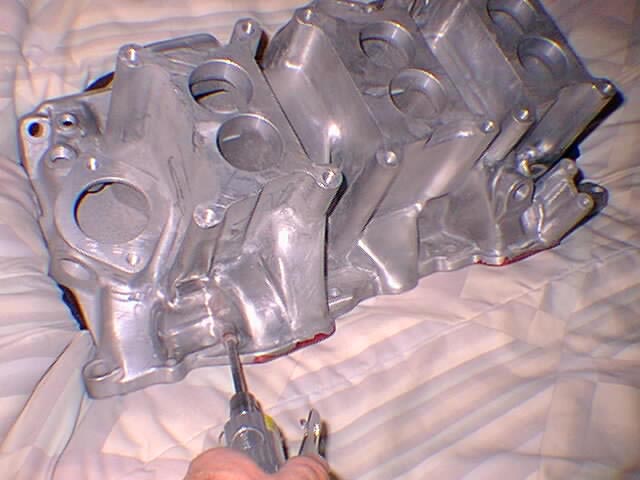
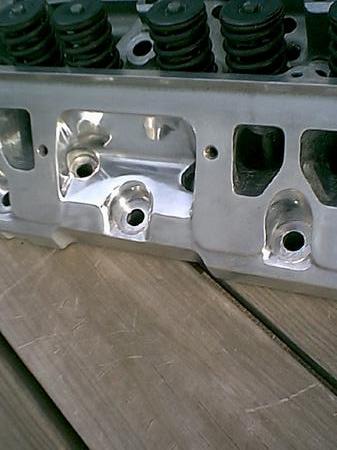
After sanding with the die grinder and sanding using the D/A again to remove marks from the Die grinder
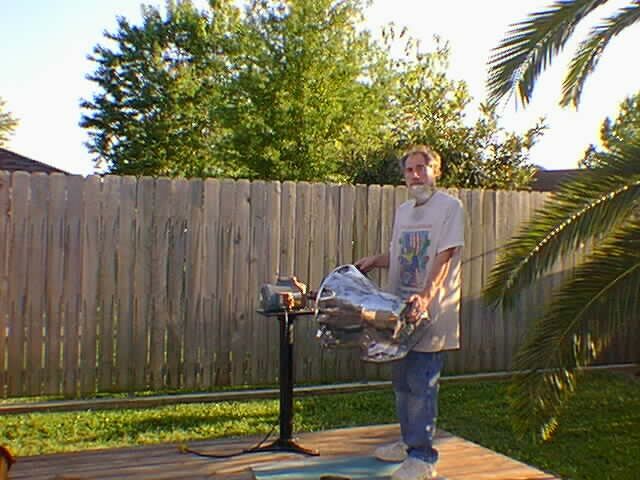
Low budget buffer Baldor motor from pawnshop. Why would anyone pawn a motor?
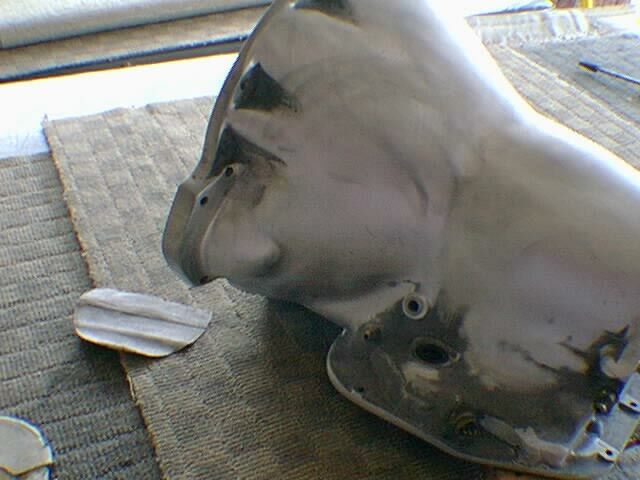
Buffing after sanding with #1000 wet with black emery
Helpful hint do not wear lose clothing it was hot this day and I did! Even though I know not to and the shirt was grabbed by the buffer and torn right off me! Could easily been an injury. I also wear a Proper / Good respirator and eye protection.
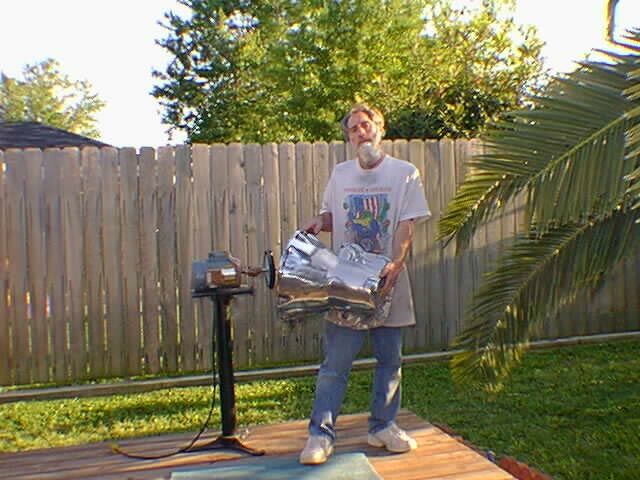
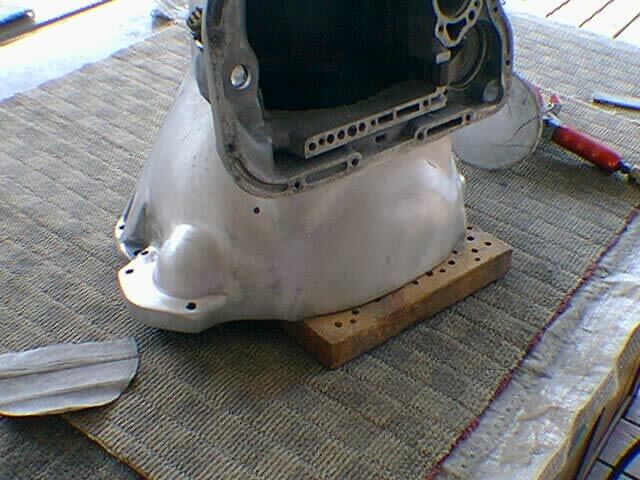
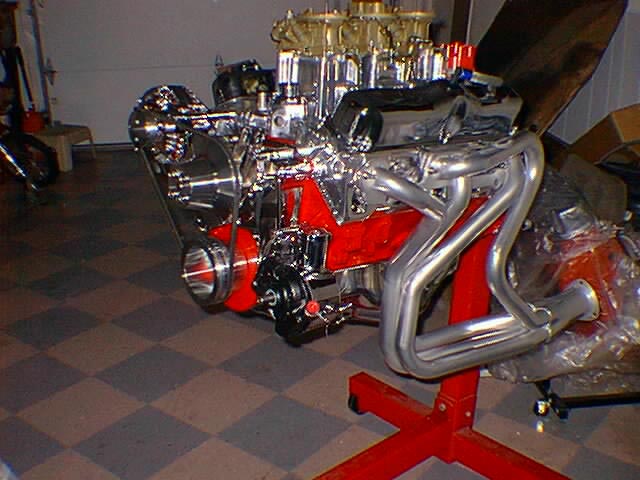
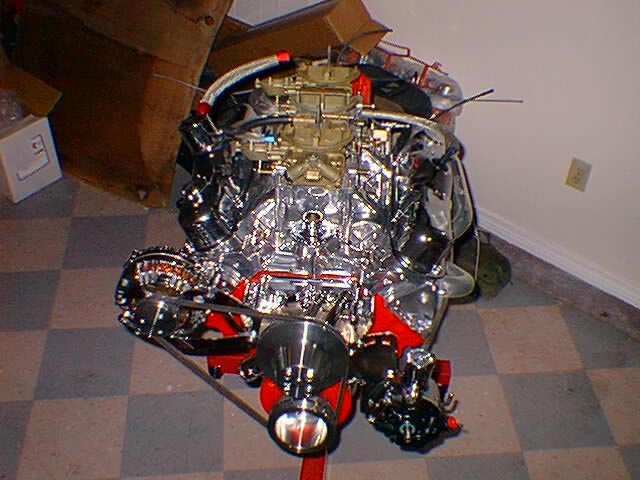
After buffing is completed with black emery, gray emery, white rouge and Cleaned up
Some other items I have done with the limited resources I have.
D/A is short for Duel Action sander. i use a ingersolrand brand with 6" pad and die grinder let me get some pics
D/A
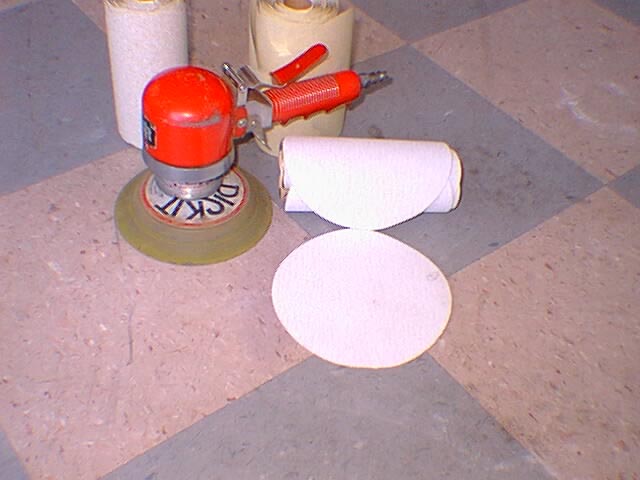
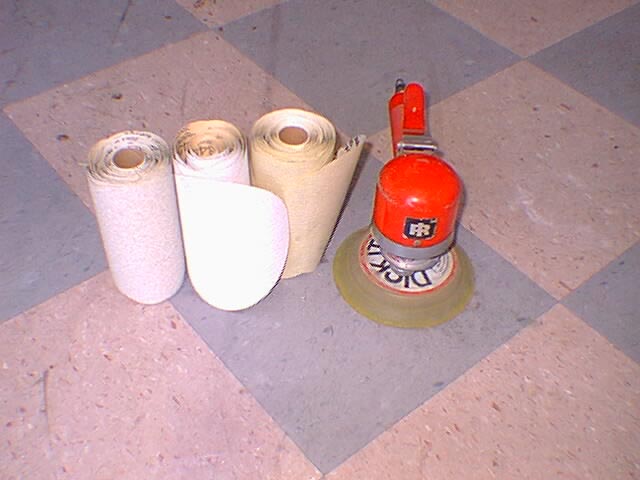
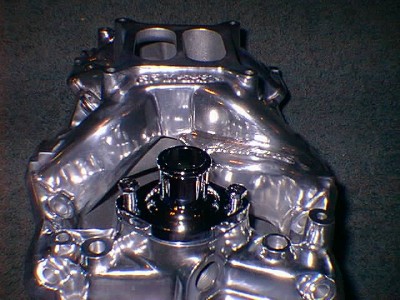
pics of another sixpack intake i am starting on about half way sanded with a cheap die grinder{intake and tools pics taken on my water bed LOL did i ever say i have a good wife?LOL}
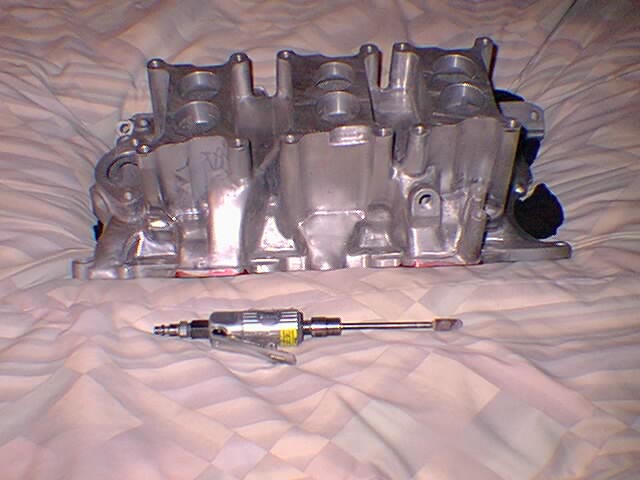
340SIX
Email fast3406@bellsouth.net
When I first saw Kevin's work about 2 1/2 years ago, I was amazed, enough so that I wanted to polish my cylinder heads! He gave me the list of steps he used (as in his first post), and I gave it a shot! I dont have a DA, so all the main sanding was done by hand. I used a Dremel for the head bolt areas, a "BONDO" brand flat sander for the machined flat surfaces, and wrapped the paper around my fingers and did all the other areas literally by hand.
Buffing:
Gray emery cloth
White Rouge
I used naptha to clean the surface in between steps.
While I skipped a few different grades of sanding (and I didnt remember the candle wax) because I am, by nature, impatient, 2 weeks (25-30 hours, 2 hours a day), blisters all over my fingers, and about 40 beers later (stupifying myself so I would complete the project), I obtained great results, proving that if you stick to Kevin's steps and take your time (i.e. dont rush) it will come out beautiful. The hardest part for me is keeping it clean after it goes under the hood!
Comparison - Before/After

Spark plug area before final clean/polish/clean
Yes, it is almost a "mirror" finish around the spark plugs (exhaust flange area still at wet 2000 grit)
After install in car (unpolished intake)

TAKE YOUR TIME, follow the steps, TAKE YOUR TIME, and TAKE YOUR TIME
EDIT:
I am so hooked on the polishing now, that when I pull the heads off for a 30* valve back cut this winter, I am going to REDO the buffing/fine polish over again so it looks as good as it possibly can. I was lazy, and if you look close enough, you can tell.
Crazy73
Tech Index